The Homeowner Guide to Specialized Metal Roofing Services

In recent years, a quiet revolution has been taking place in suburban neighborhoods across the country. More and more homeowners are making the transition from traditional, temporary asphalt shingles to premium, permanent steel or aluminum exteriors. Upgrading to a permanent metal system is undeniably one of the most visually striking and long-lasting investments a property owner can make. When engineered correctly, these architectural masterpieces can easily last fifty to seventy years, dramatically increasing a home’s curb appeal, boosting its energy efficiency, and providing unparalleled defense against severe weather events. For many, this is the last exterior renovation they will ever need to commission.
However, a critical problem arises when homeowners approach this transition as if it were a standard, weekend home improvement project. Moving to a permanent steel or aluminum system is not a simple, straightforward material swap. These advanced exterior systems require highly specialized engineering, extremely precise tools, and a deep, scientific understanding of thermal dynamics, moisture migration, and structural load-bearing. Because the materials are unyielding and designed to last generations, the margin for error during the installation process is incredibly slim. A single miscalculation in fastening or flashing can lead to catastrophic leaks and severe structural damage down the road.
The purpose of this definitive guide is to serve as a comprehensive roadmap for homeowners ready to take this significant step. We will walk you through every phase of the project, from evaluating your home’s structural readiness and navigating the complexities of material selection, to vetting specialized experts and managing the unique water runoff dynamics associated with these surfaces. By understanding the intricate details of this process, you can ensure your generational investment is executed flawlessly, yielding decades of beauty and protection.
Assess Your Home’s Structural Load and Substrate Needs

Before you even begin to look at color swatches or panel profiles, you must look inward—specifically, at the wooden skeleton of your home. A beautiful, high-end steel or aluminum exterior cannot simply be slapped over rotting wood or an uneven surface. The physical foundation upon which your new system will rest dictates its entire future performance, making a rigorous structural assessment the absolute first step in your renovation journey.
Inspect the Plywood Substrate Before Upgrading
One of the most critical elements of a successful upgrade is the condition of the wooden substrate beneath. Unlike flexible asphalt shingles, which can somewhat conform to minor dips and valleys in your roofline, rigid metal panels will broadcast every single imperfection. If the plywood or oriented strand board (OSB) beneath the metal is warped or decaying, the metal panels will warp along with it, creating a wavy, distorted appearance known in the industry as “oil canning.”
To prevent this, the local metal roof decking must be exhaustively inspected once the old asphalt is torn off. This decking must be perfectly flat, structurally sound, and completely free of any moisture damage, mold, or rot. Any soft spots or delaminated wood must be completely cut out and replaced with fresh, heavy-duty plywood. Trying to save a few hundred dollars by installing expensive steel panels over compromised wood is a recipe for aesthetic and structural disaster.
Understand the Impact of Building Codes on Heavy Upgrades
Navigating local building codes is another crucial step in the preparation phase. While many modern aluminum systems are actually lighter than multi-layered asphalt or heavy clay tile, transitioning your home’s exterior still requires a thorough structural assessment to ensure compliance with municipal regulations. Changing the structural dynamics of your home alters how it handles wind uplift and snow loads, which means your local building department will likely require engineered blueprints and specific permits.
Premium providers of residential roofing services will not leave you to navigate this bureaucratic maze alone. They will handle the complex engineering calculations required by your municipality, ensuring that your home’s trusses and framing can easily support the new weight distribution and that the fastening patterns meet the strict wind-uplift codes necessary for your specific geographic region. Do not attempt to bypass the permitting process, as doing so can void your homeowner’s insurance and cause severe headaches if you ever decide to sell the property.
Evaluate the Need for Acoustic Buffering
A common hesitation homeowners have when considering this upgrade is the fear of noise. The image of deafening rainfall echoing through a tin shack is a pervasive myth, but it is one grounded in a basic physical reality: metal conducts sound. However, modern construction techniques have effectively eliminated this concern.
If you are particularly sensitive to noise, you should discuss acoustic buffering options with your project manager.
-
Premium Underlayments: Instead of standard felt paper, ask for thick, high-density synthetic underlayments that provide a dampening layer between the steel and the wood.
-
Rigid Foam Insulation: Installing a layer of rigid foam insulation directly beneath the panels not only drastically improves your home’s energy efficiency but also acts as an incredible sound barrier.
-
Attic Insulation: Ensuring your attic floor has a deep, robust layer of blown-in fiberglass or cellulose insulation will absorb any residual sound, making your home just as quiet—if not quieter—than it was with an asphalt exterior.
Select the Ideal Panel Profile and Fastening Mechanics

Once your home’s structural readiness is confirmed, you face the most important technical decisions of the project: choosing the physical profile of the panels and determining how they will be attached to your home. The terminology in this phase can be overwhelming, but understanding the difference between exposed and concealed fasteners, gauge thickness, and paint chemistry is vital for maximizing your investment.
Prioritize Concealed Fasteners Over Exposed Screws
The most critical distinction in panel profiles is how the metal is secured to the decking. You generally have two options: exposed fastener systems (like corrugated agricultural panels) and concealed fastener systems (like standing seam).
In an exposed fastener system, thousands of screws are driven directly through the face of the metal panel into the wood below. Each screw has a small rubber or neoprene washer to seal the hole. The problem is that metal expands and contracts drastically with temperature changes throughout the day. Over the years, this daily movement causes the screw holes to widen, and the harsh UV rays cause the rubber washers to dry out, crack, and fail. Every single exposed screw becomes a guaranteed future leak point.
For primary living spaces, you must urge your project manager to utilize concealed fastener systems. In a standing seam system, the panels are secured to the deck using hidden clips, and the edges of the panels physically interlock over those clips. Because the fasteners are completely hidden from the sun and rain, they will never degrade. Furthermore, the clips allow the metal panels to “float,” expanding and contracting freely without warping the metal or wallowing out holes. These interlocking, floating seams are the hallmark of top-tier metal roofing services and represent the gold standard in watertight engineering.
Match the Panel Gauge to Your Regional Climate Hazards
The thickness of the metal is measured by a gauge system, and it is counterintuitive: the lower the gauge number, the thicker and stronger the metal. Choosing the correct gauge is heavily dependent on the specific weather hazards common to your region.
-
29-Gauge: This is very thin metal, typically reserved for barns, sheds, or agricultural buildings. It is highly susceptible to denting and should generally be avoided for residential homes.
-
26-Gauge: This is the standard entry-level thickness for residential applications. It is perfectly suitable for homes in mild climates that do not experience extreme weather.
-
24-Gauge and 22-Gauge: If you live in an area prone to severe hailstorms, heavy snow loads, or hurricane-force winds, you must invest in thicker steel. These lower-gauge panels offer vastly superior impact resistance, ensuring that a freak hailstorm does not leave your beautiful new exterior looking like a dimpled golf ball.
Choose the Right Paint Finish for Longevity
The final aesthetic and protective layer of your system is the chemical coating applied to the steel. The paint on these panels is not applied with a brush; it is a highly advanced, factory-baked chemical resin designed to withstand decades of relentless sun exposure. However, not all paints are created equal.
During the planning of your roof installations, you must explicitly insist on a Kynar 500 (also known as PVDF) resin finish. Cheaper panels often use Silicone Modified Polyester (SMP) paints, which will inevitably begin to “chalk” (turn into a white powder) and fade unevenly after just ten or fifteen years of UV exposure. Kynar 500, on the other hand, is a premium fluoropolymer resin that maintains its vibrant color and resists chalking and fading better than any other coating on the market, ensuring your home looks brand new for decades.
Interview and Verify Niche Expertise
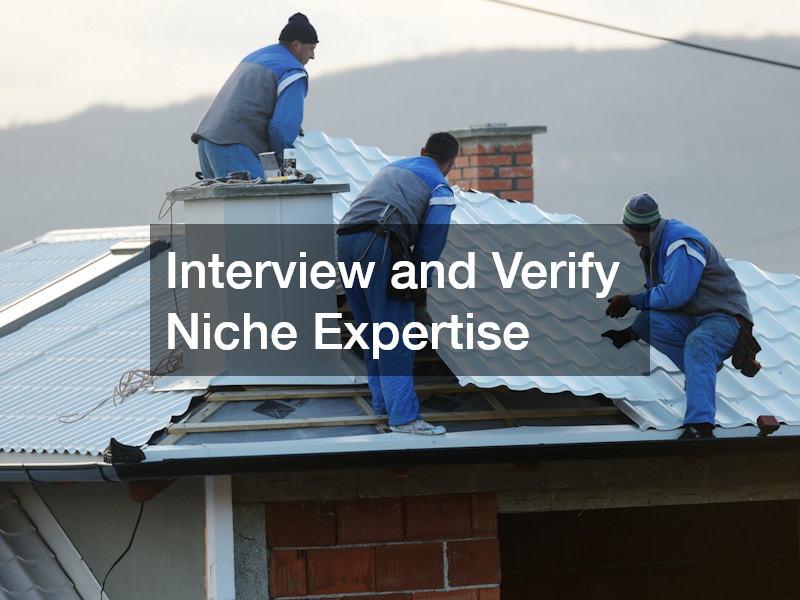
The highest-quality, thickest-gauge steel coated in premium Kynar 500 paint is completely worthless if it is installed by a crew that lacks specialized training. The skills required to manipulate heavy-duty steel are entirely different from the skills used in traditional asphalt tear-offs. Therefore, your vetting process for a project partner must be far more rigorous than a simple Google search for local handymen.
Demand Proof of Metallurgical and Custom Flashing Experience
Asphalt shingles are flexible; they can be easily bent, cut with a simple hook blade, and nailed down in seconds. Steel, on the other hand, is entirely unforgiving. Installing it requires precise measuring, specialized metal-bending brakes, and complex metallurgical knowledge. The most difficult and leak-prone areas of your home are the penetrations—such as chimneys, skylights, dormer windows, and valleys.
You must ask your prospective roofing contractor to provide a detailed portfolio that specifically highlights their custom metal flashing work.
-
Look closely at how they handle chimney saddles (crickets). Are they seamlessly welded or folded, or do they rely heavily on messy tubes of caulk?
-
Examine their drip edges and ridge caps. Are the cuts clean and straight, or do they look jagged and rushed?
-
Ask them to explain the concept of “hemming.” A true artisan will fold (hem) the cut edges of the metal under themselves so that no raw, rust-prone steel edges are ever exposed to the weather.
Scrutinize the Fine Print for Manufacturer Certifications
Because the material manufacturers have a vested interest in their products succeeding, they offer strict certification programs for installers. Top-tier manufacturers of premium steel and aluminum systems will only offer their most comprehensive, non-prorated warranties to contractors who have passed their rigorous, factory-sponsored training programs.
When evaluating a prospective partner, ask to see their manufacturer credentials. If they are not certified by the company that produces the panels they are selling you, the manufacturer may refuse to honor the warranty if a defect arises later, blaming the issue on improper installation rather than faulty material.
Inquire About On-Site Panel Fabrication
One of the most revealing questions you can ask a prospective roofing business is how and where they manufacture their panels. There are generally two methods: factory-formed panels that are shipped on massive flatbed trucks, or panels that are roll-formed directly on your driveway.
On-site roll-forming is vastly superior for several reasons. First, it eliminates the risk of panels being scratched, dented, or bent during long-haul shipping. Second, and most importantly, it allows the crew to run custom-length panels that stretch continuously from the very peak of your house all the way down to the gutters. Factory-shipped panels are often limited by the length of the truck, meaning that on large homes, the crew may have to overlap two panels horizontally. Every horizontal seam is a potential liability where water can infiltrate. A company that owns and operates its own portable roll-forming machines demonstrates a high level of capital investment and a commitment to custom, seamless craftsmanship.
Master Water Diversion and Condensation Control
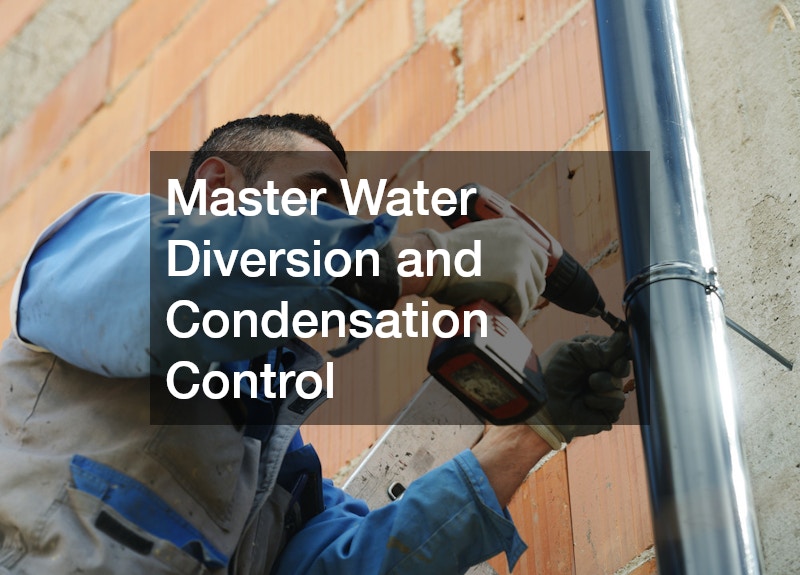
Changing the surface material of your home fundamentally alters how it interacts with the environment, particularly when it comes to water and temperature. Steel is incredibly slick and highly thermally conductive. If you do not proactively manage these new dynamics, you will solve your leakage problems only to create a host of new, equally destructive issues around your foundation and in your attic.
Design a Capable Runoff Architecture
A textured asphalt surface acts like a sponge, slowing down the speed at which rainwater descends to your gutters. A smooth Kynar-coated steel surface acts like a water slide. During a heavy downpour, water will rush off the edge of your home at an incredibly accelerated velocity and volume. Standard five-inch, K-style aluminum gutters are often completely overwhelmed by this sudden deluge, causing water to overshoot the trough entirely and pool dangerously around your home’s foundation.
To manage this accelerated runoff, you must completely redesign your gutter system. It is highly advisable to consult with specialized fiberglass gutter companies or custom metal fabricators to design deep-channel, six-inch or half-round seamless troughs. These oversized, high-capacity systems are capable of catching and channeling the massive volume of water without overflowing, protecting your basement from flooding and your landscaping from being washed away.
Prevent Internal Moisture with Proper Ventilation Layers
Because metal is highly conductive, it reacts violently to temperature changes. When the warm, humid air inside your home’s attic hits the freezing cold underside of a steel panel on a winter night, it reaches its dew point instantly. This creates massive amounts of condensation, or “sweat.” If this condensation is not managed, it will drip down onto your wooden trusses and attic insulation, causing black mold and dry rot.
To prevent this hidden disaster, your installation team must create an advanced ventilation system.
-
They must install a continuous ridge vent at the peak and unobstructed soffit vents at the eaves to ensure a constant flow of fresh air.
-
Additionally, the panels are often installed on top of a specialized, tangled-matrix underlayment or wooden battens. This creates a physical air gap between the steel and the waterproofing membrane, allowing any condensation that does form to safely weep down the slope and dry out naturally.
Install Protective Snow Retention Systems
If you live in a region that receives significant winter snowfall, managing water in its solid form is incredibly important. Snow behaves very differently on slick steel than it does on gritty asphalt. Instead of melting slowly over weeks, an entire winter’s worth of accumulated snow can suddenly detach from a steel surface all at once, creating a massive, destructive roof avalanche.
These avalanches can easily carry thousands of pounds of sheer force, tearing your brand-new gutters off the fascia board, crushing expensive landscaping, or destroying an under deck drainage system installed on a lower patio. More importantly, falling ice blocks pose a lethal threat to anyone walking out your front door. You must mandate the installation of heavy-duty snow guards or continuous snow rails along the eaves of your home. These engineered retention systems hold the snowpack securely in place, forcing it to melt slowly and drain safely into the gutters as liquid water.
Prepare Your Property for Installation Day and Beyond

The weeks leading up to the final installation are critical for ensuring that the massive construction project does not inadvertently damage the rest of your property. Furthermore, understanding the long-term maintenance requirements of your new system will guarantee that it performs optimally for the next half-century.
Protect Landscaping from Specialized Cutting Debris
The process of cutting heavy-gauge steel on a job site creates a unique hazard that is entirely absent in traditional exterior renovations: swarf. Swarf is the collection of microscopic, razor-sharp metal shavings generated when panels are cut to size. If these hot metal shavings are allowed to fall onto your brand-new panels or scatter into your lawn, they will quickly oxidize, leaving ugly, permanent rust stains everywhere they land. Furthermore, they pose a severe hazard to pets and barefoot children.
You must insist that the roofing company employs rigorous site-protection protocols.
-
They should utilize specialized “nibblers” or heavy-duty metal shears instead of abrasive circular saw blades, which generate far less swarf and prevent the paint from burning.
-
They must lay down heavy-duty canvas drop cloths over all garden beds, patios, and walkways.
-
At the end of every single workday, the site manager must conduct a meticulous, multi-pass sweep of your entire property using high-powered rolling magnets to collect any stray metal shavings, screws, or sharp off-cuts.
Establish a Routine, Low-Impact Maintenance Schedule
One of the primary selling points of a premium steel upgrade is its incredibly low maintenance requirement. However, “low maintenance” does not mean “no maintenance.” To ensure your investment remains pristine and fully functional, you should establish a simple, bi-annual maintenance routine.
-
Wash the Panels: Once a year, gently wash the panels using a garden hose and a mild, non-abrasive detergent to remove dirt, pollen, and environmental pollutants that can degrade the paint over time. Never use a high-pressure power washer, as the intense force can force water up under the interlocking seams or blast the Kynar finish right off the metal.
-
Clear Debris Promptly: If you live in a heavily wooded area, do not let wet leaves or pine needles accumulate in the valleys or behind the chimney. Wet organic matter can trap moisture against the steel and eventually lead to localized corrosion. Use a soft-bristled broom or a leaf blower to keep the surface clear.
Monitor Sealants Around High-Risk Penetrations
While the steel panels themselves will last for over fifty years, the synthetic sealants used to waterproof the complex penetrations will not. The specialized butyl tape, rubber pipe boots, and architectural silicone sealants used around your plumbing vents, skylights, and masonry chimneys are subjected to brutal UV radiation and will eventually dry out, crack, and lose their elasticity.
It is highly recommended that you have professional roofers conduct a thorough inspection of your system every five to seven years. They will not be looking to replace the panels; instead, they will focus entirely on these high-risk penetration points, stripping away old, brittle caulking and applying fresh, high-grade sealants. Staying proactive with these minor, inexpensive touch-ups is the ultimate secret to ensuring your generational investment remains completely watertight for the rest of your life.